You want to translate your site to another language but you can not do it with the theme part. So, you can follow the instruction below:
Loco Translate plugin is the best solution for you.
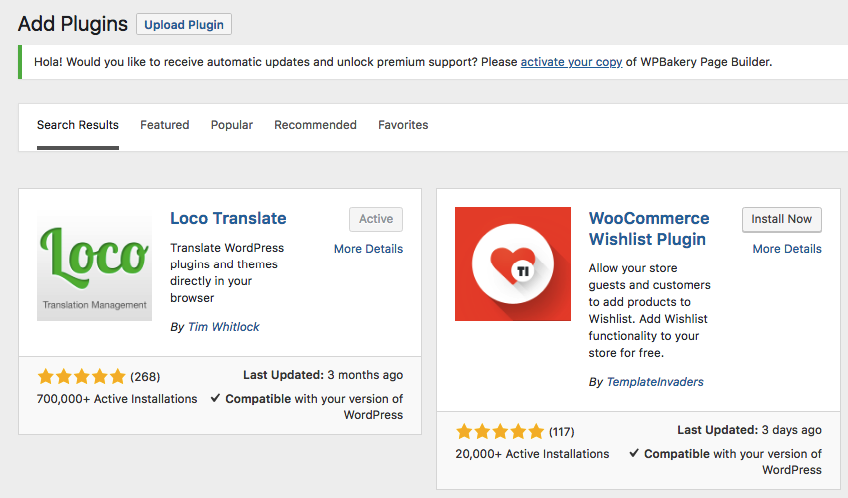
Step 1: Navigate to Plugins >> Add New
Step 2: Find Loco Translate in Search Plugins box
Step 3: Install and active this plugin.

Step 4: Loco Translate plugins has worked in your site already. Find Loco Translate the left column of the admin screen
Step 5: Choose your template then hit to new language.
Choose a language you want and choose a location. There are 3 types of locations such as:
- CUSTOM: (RECOMMENDED) This is Loco's protected folder under "wp-content/languages/loco/" which is safe from automatic updates and provide priority over the above locations. If this folder doesn't exist you may need to create it and ensure it has the correct permissions.
- System (possibly unsafe) This location is under the global language installation directory (WP_LANG_DIR). Files saved here can be overwritten by WordPress's own language installer, so don't save files here unless you've disabled automatic translation updates.
- Other Some bundles may offer their own locations for custom translations, but we can't advise on how they are used. Please ask the bundle author how to work with any alternative locations you see here.
After choosing location, please hit Start translating button.
Now you can see the table like this
Find the text you want to translate in Filter translations box then the text you choose will appear in Source text box. You can type the translation version in below box. And do not forget to hit “ Save” button.
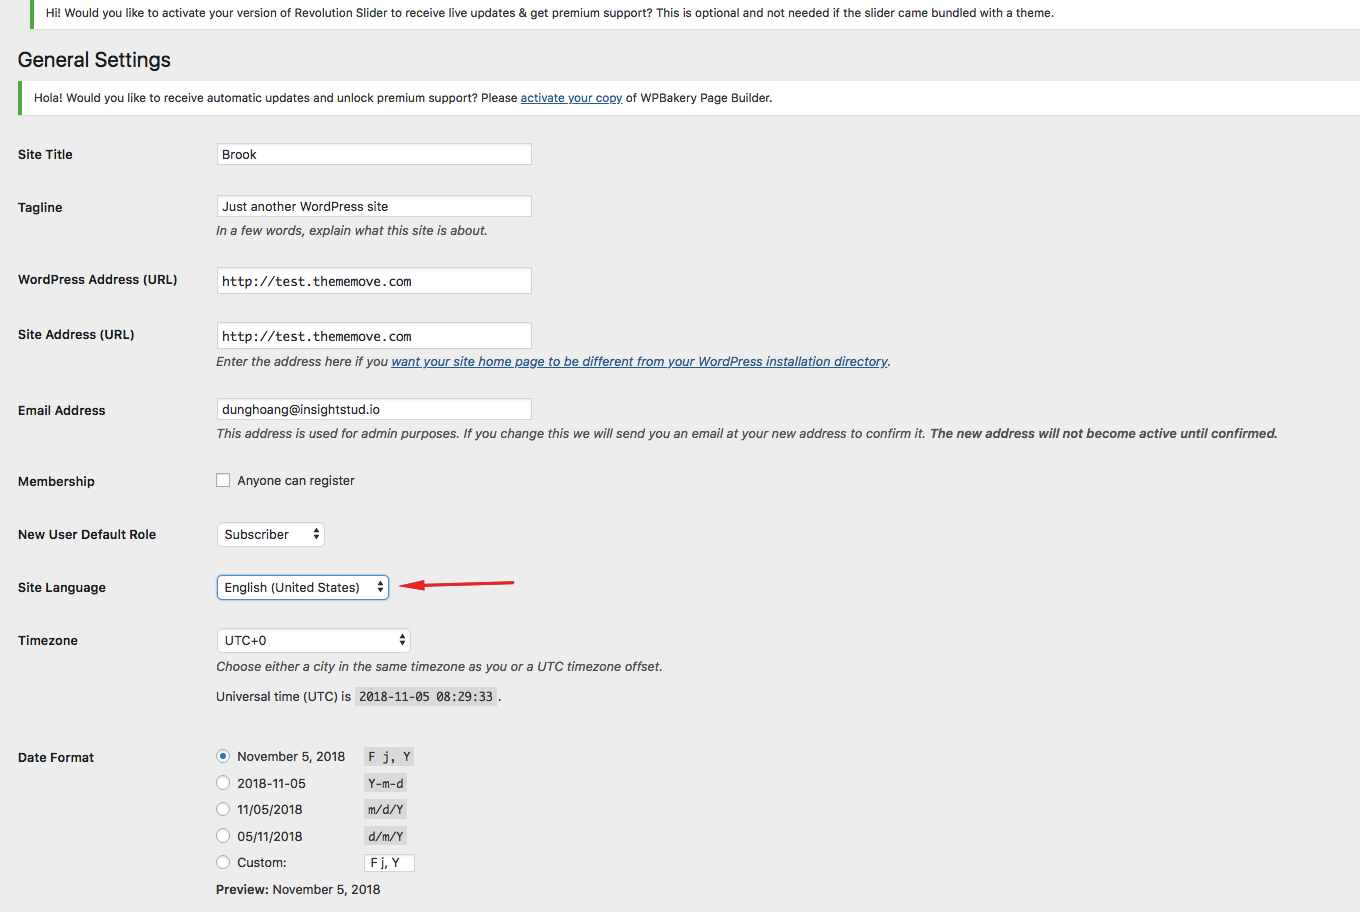
Step 6: Do not forget to navigate to Setting >> General >> change Site language to the language you choose to translate to.

Step 7: Back to Front –End to check the result.
* Can't find the translated string?
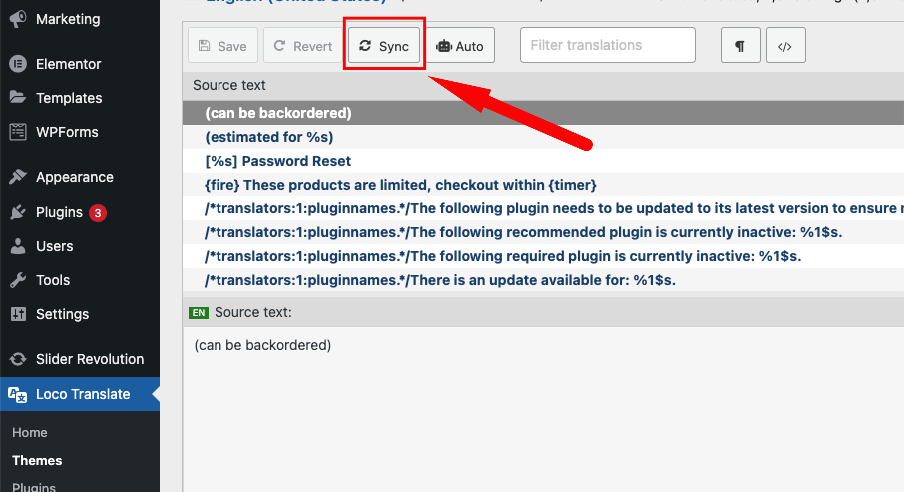
In case the theme has been updated and the language file has been changed, you may not find the string to be translated. Please click the Sync button to update the new translation strings for the translation.
